Thesis/Dissertation Table of Contents Configuration in Microsoft Word
Recommendation: create the table of contents AFTER creating content and labeling headings.
See the Content/Chapters page for more information on headings.
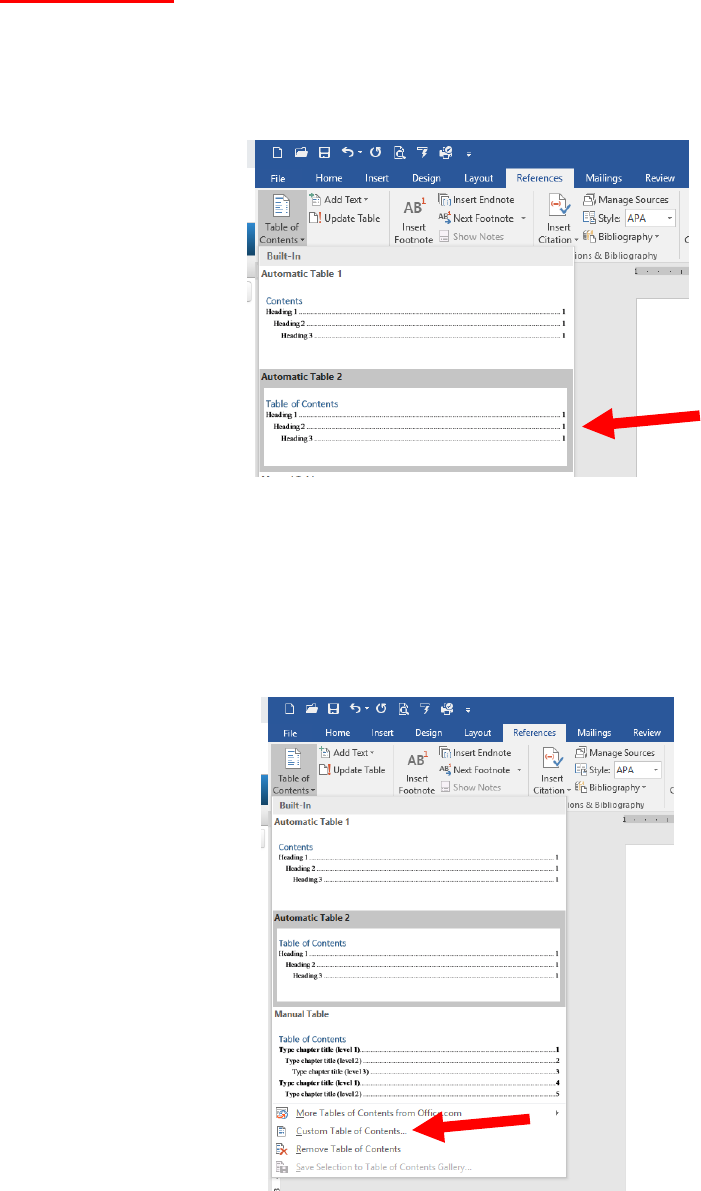
1. Put your cursor at the top of your Table of Contents page.
2. Click on References > Table of Contents > Automatic Table 2.
3. Note: until you label headings, you will get popup boxes telling you to start applying a
heading style. This is why you should do headings first, then create the table of contents.
4. Edit the blue “Table of Contents” words to make them black, Times New Roman, size
12, centered, bold, and all caps. Insert a blank line after these words.
5. With your cursor in the table of contents, click on References > Table of Contents >
Custom Table of Contents.
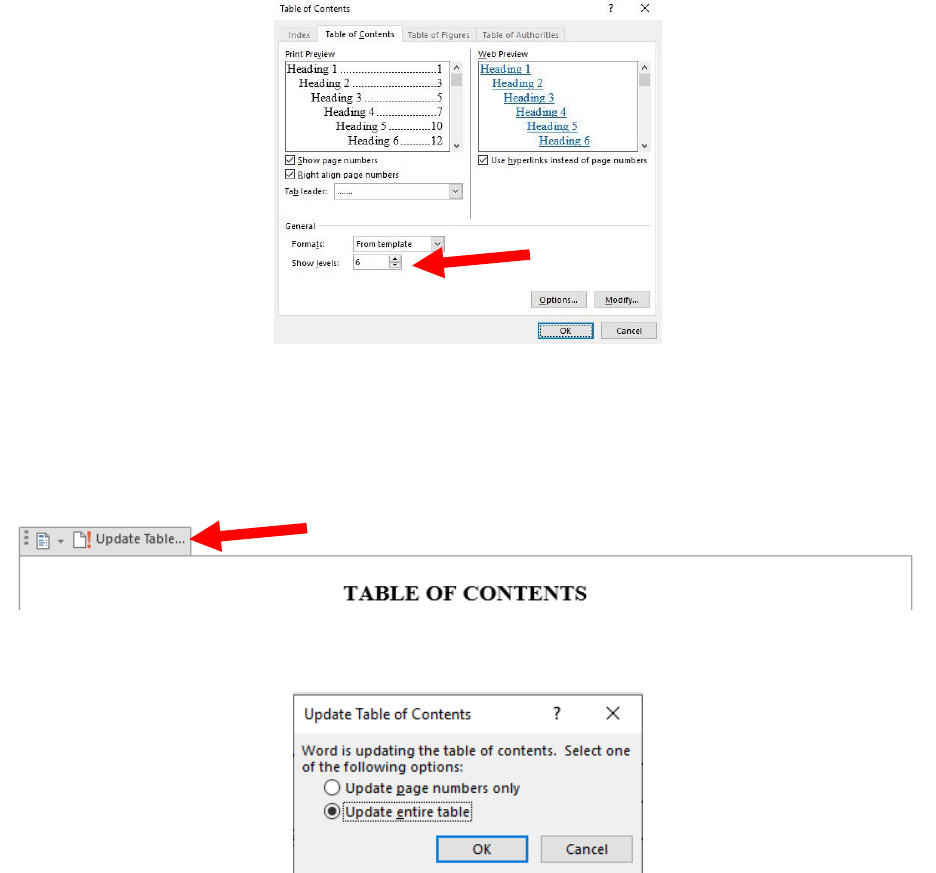
6. Change the Show levels number from 3 to 6 and click OK.
7. When it asks if you replace this table of contents, click Yes. Now your table of contents
will display all six possible levels of headings.
8. As you label new headings, edit existing headings, and edit your paper so it changes the
page numbers of your headings, you need to update your table of contents. Put your
cursor in the table of contents and click on Update Table at the top of the page.
9. Select Update entire table and click OK.
